Shopify app
Overview
The seamless one-click Shopify app integration enables you to sync all your historical and real-time data, allowing you to stay on top of every interaction people have with your site. With our automated email and SMS messaging, your customers will hear from you when they want (and ought) to be. And that means more revenue for you.
There are two ways to get started with Intempt’s Shopify integration:
- Sign up to Intempt through Shopify
- Log in to Intempt and start using Intempt with the Shopify source already created
Add the Intempt integration
From the Shopify app store search for the Intempt: Growth OS app.
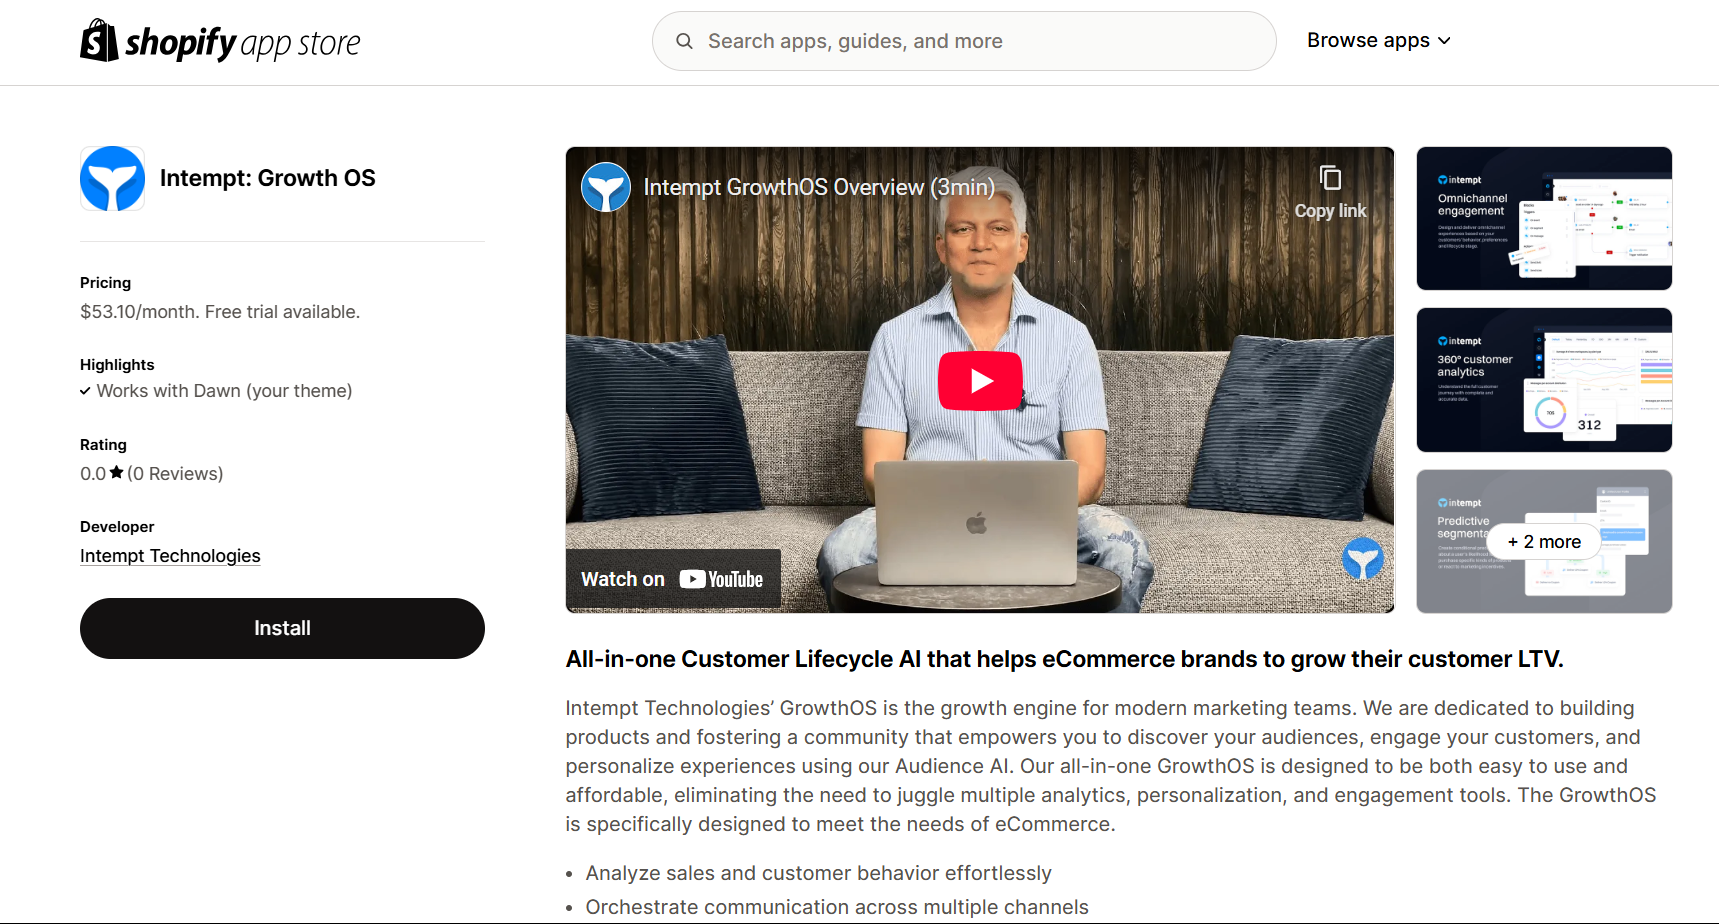
Click on the Install button to proceed with the installation.
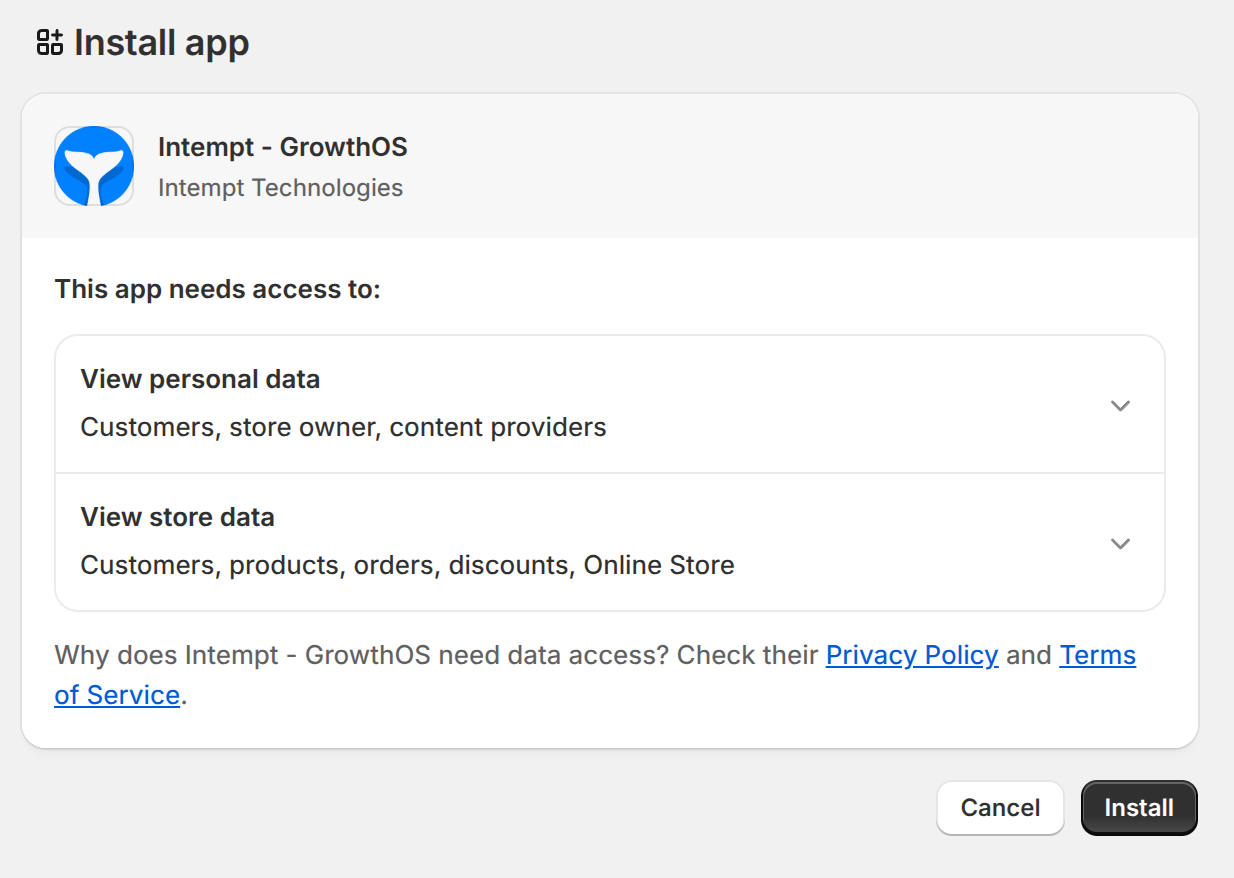
Once you have reviewed the access agreement, click Install to proceed with the installation.
Signing up for Intempt
- Start the installation
Click Install app. You will be redirected to Intempt, where you will be prompted to log in.
- If you already have an Intempt account, enter your credentials.
- If you do not have an account, click Sign up and provide your name, email address, and password.
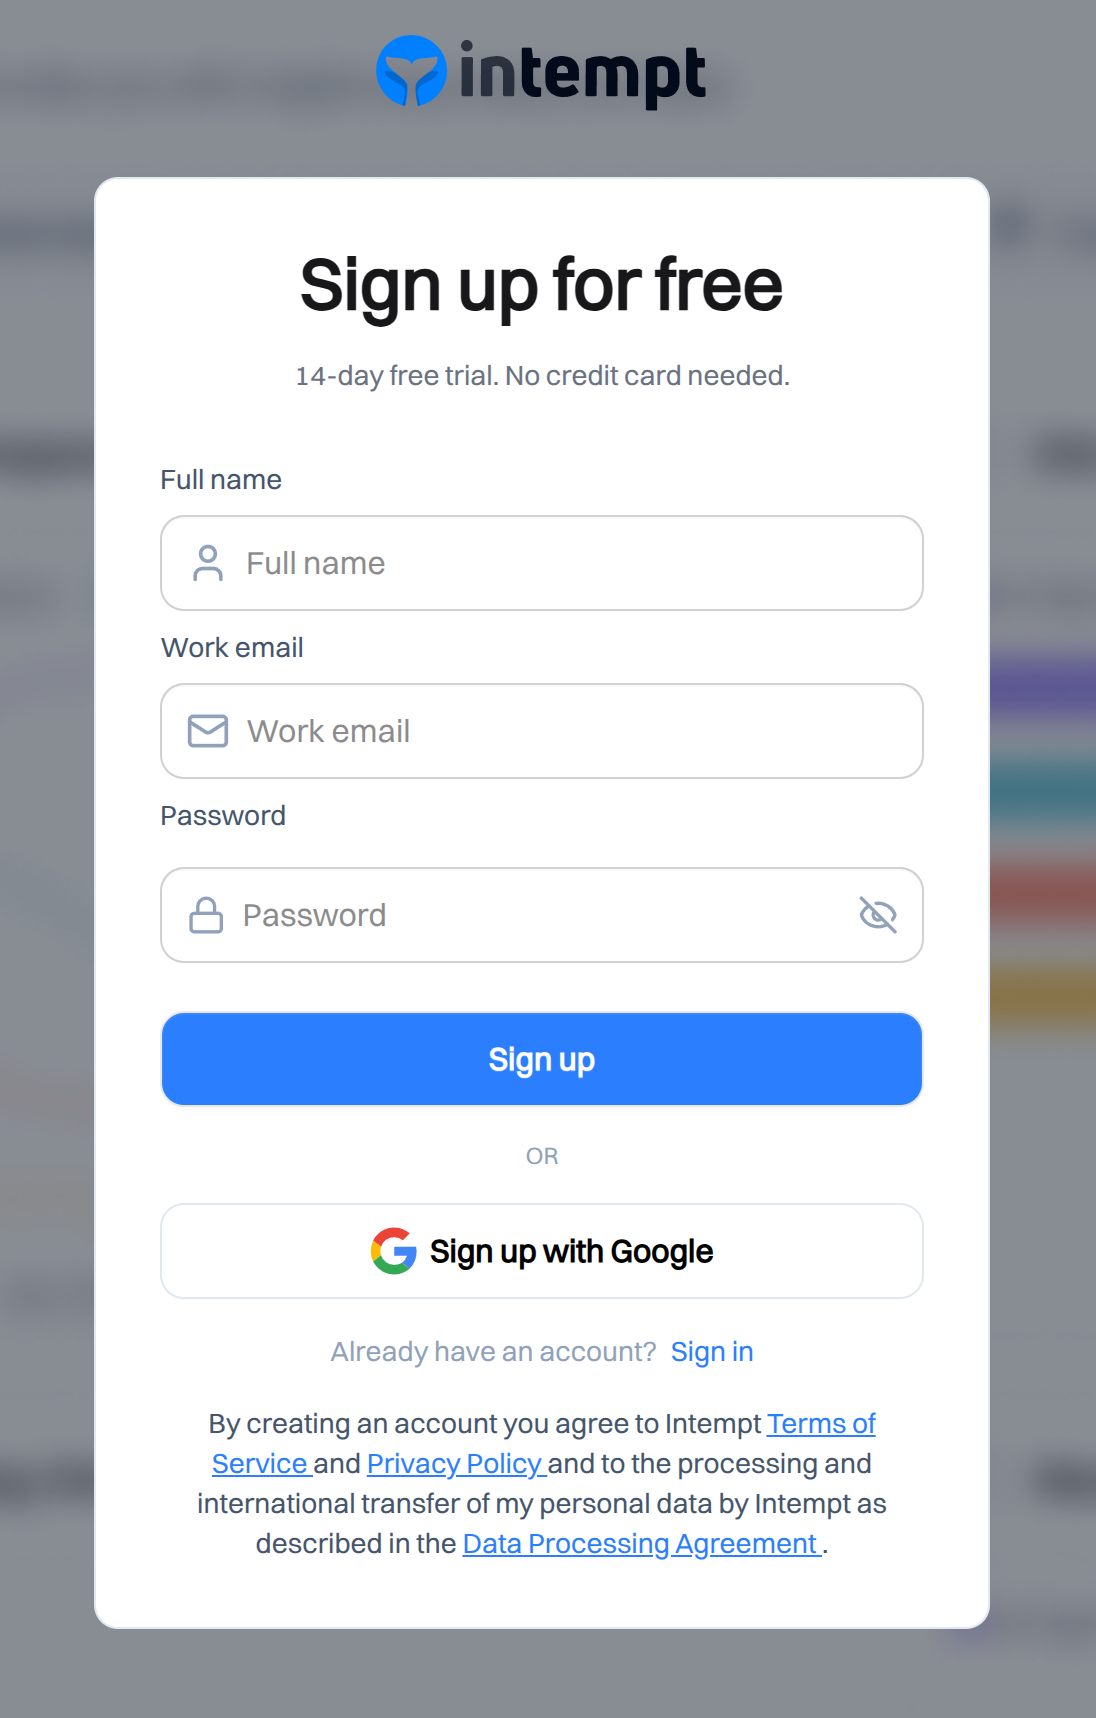
- Complete the onboarding flow
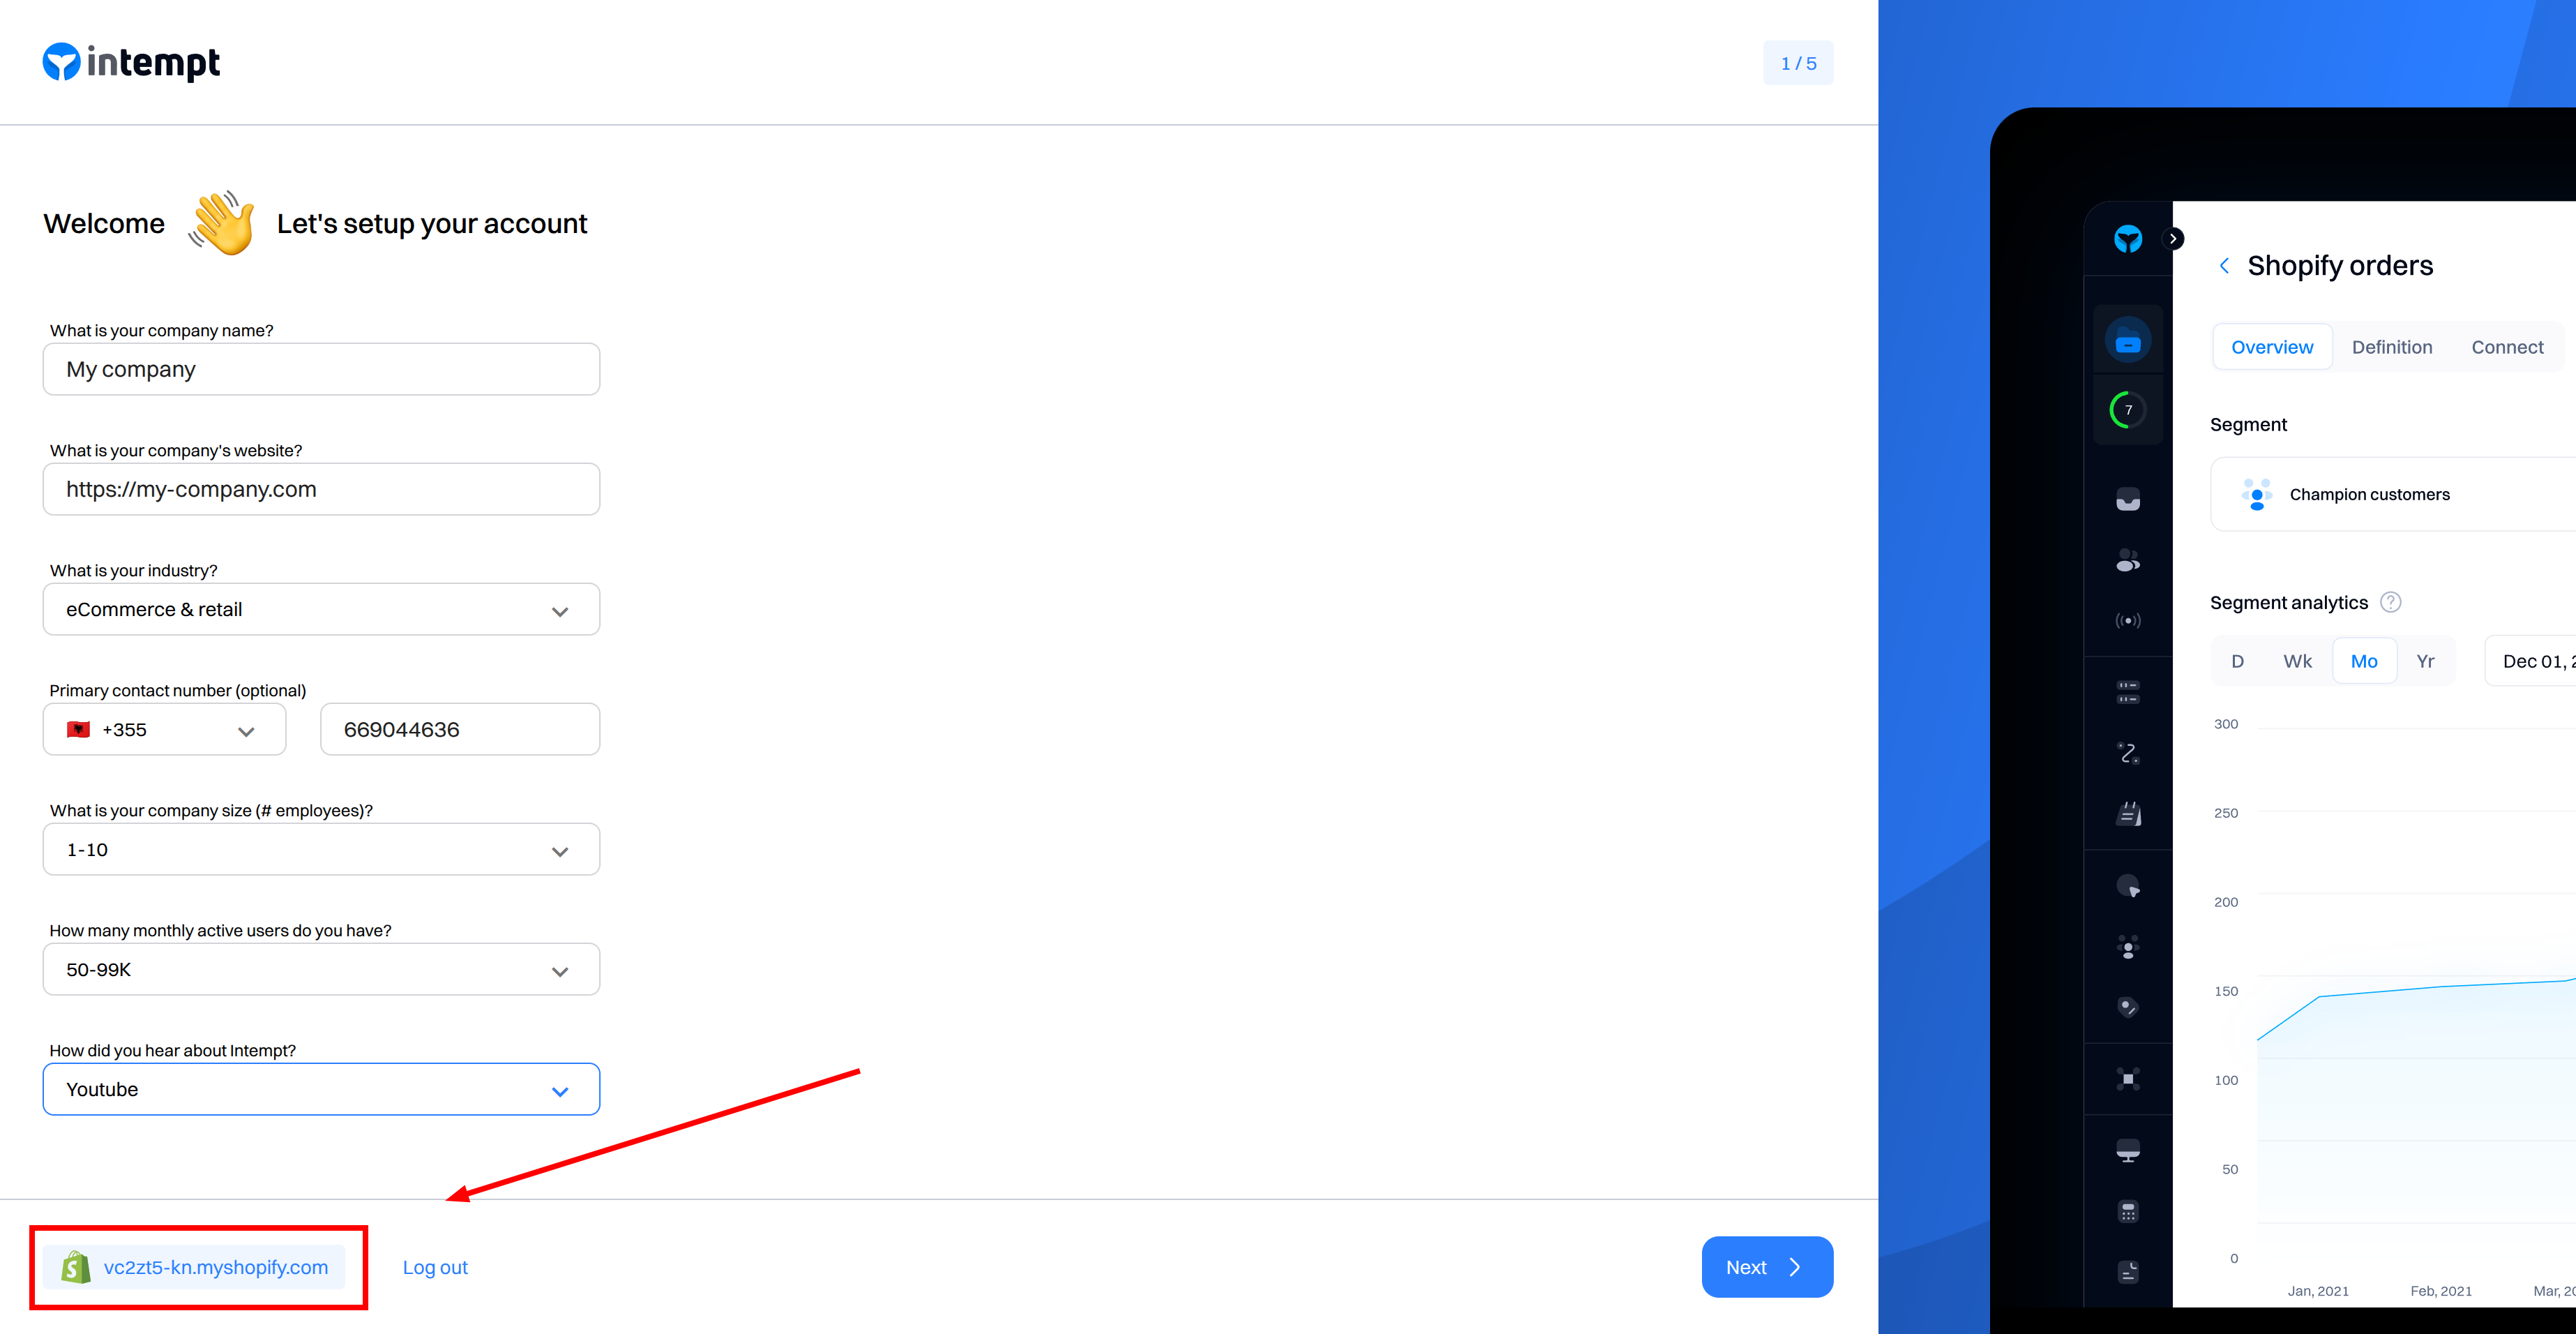
After logging in or creating an account, the onboarding process will begin. During onboarding, you will be asked to provide additional information:
- Additional details about you
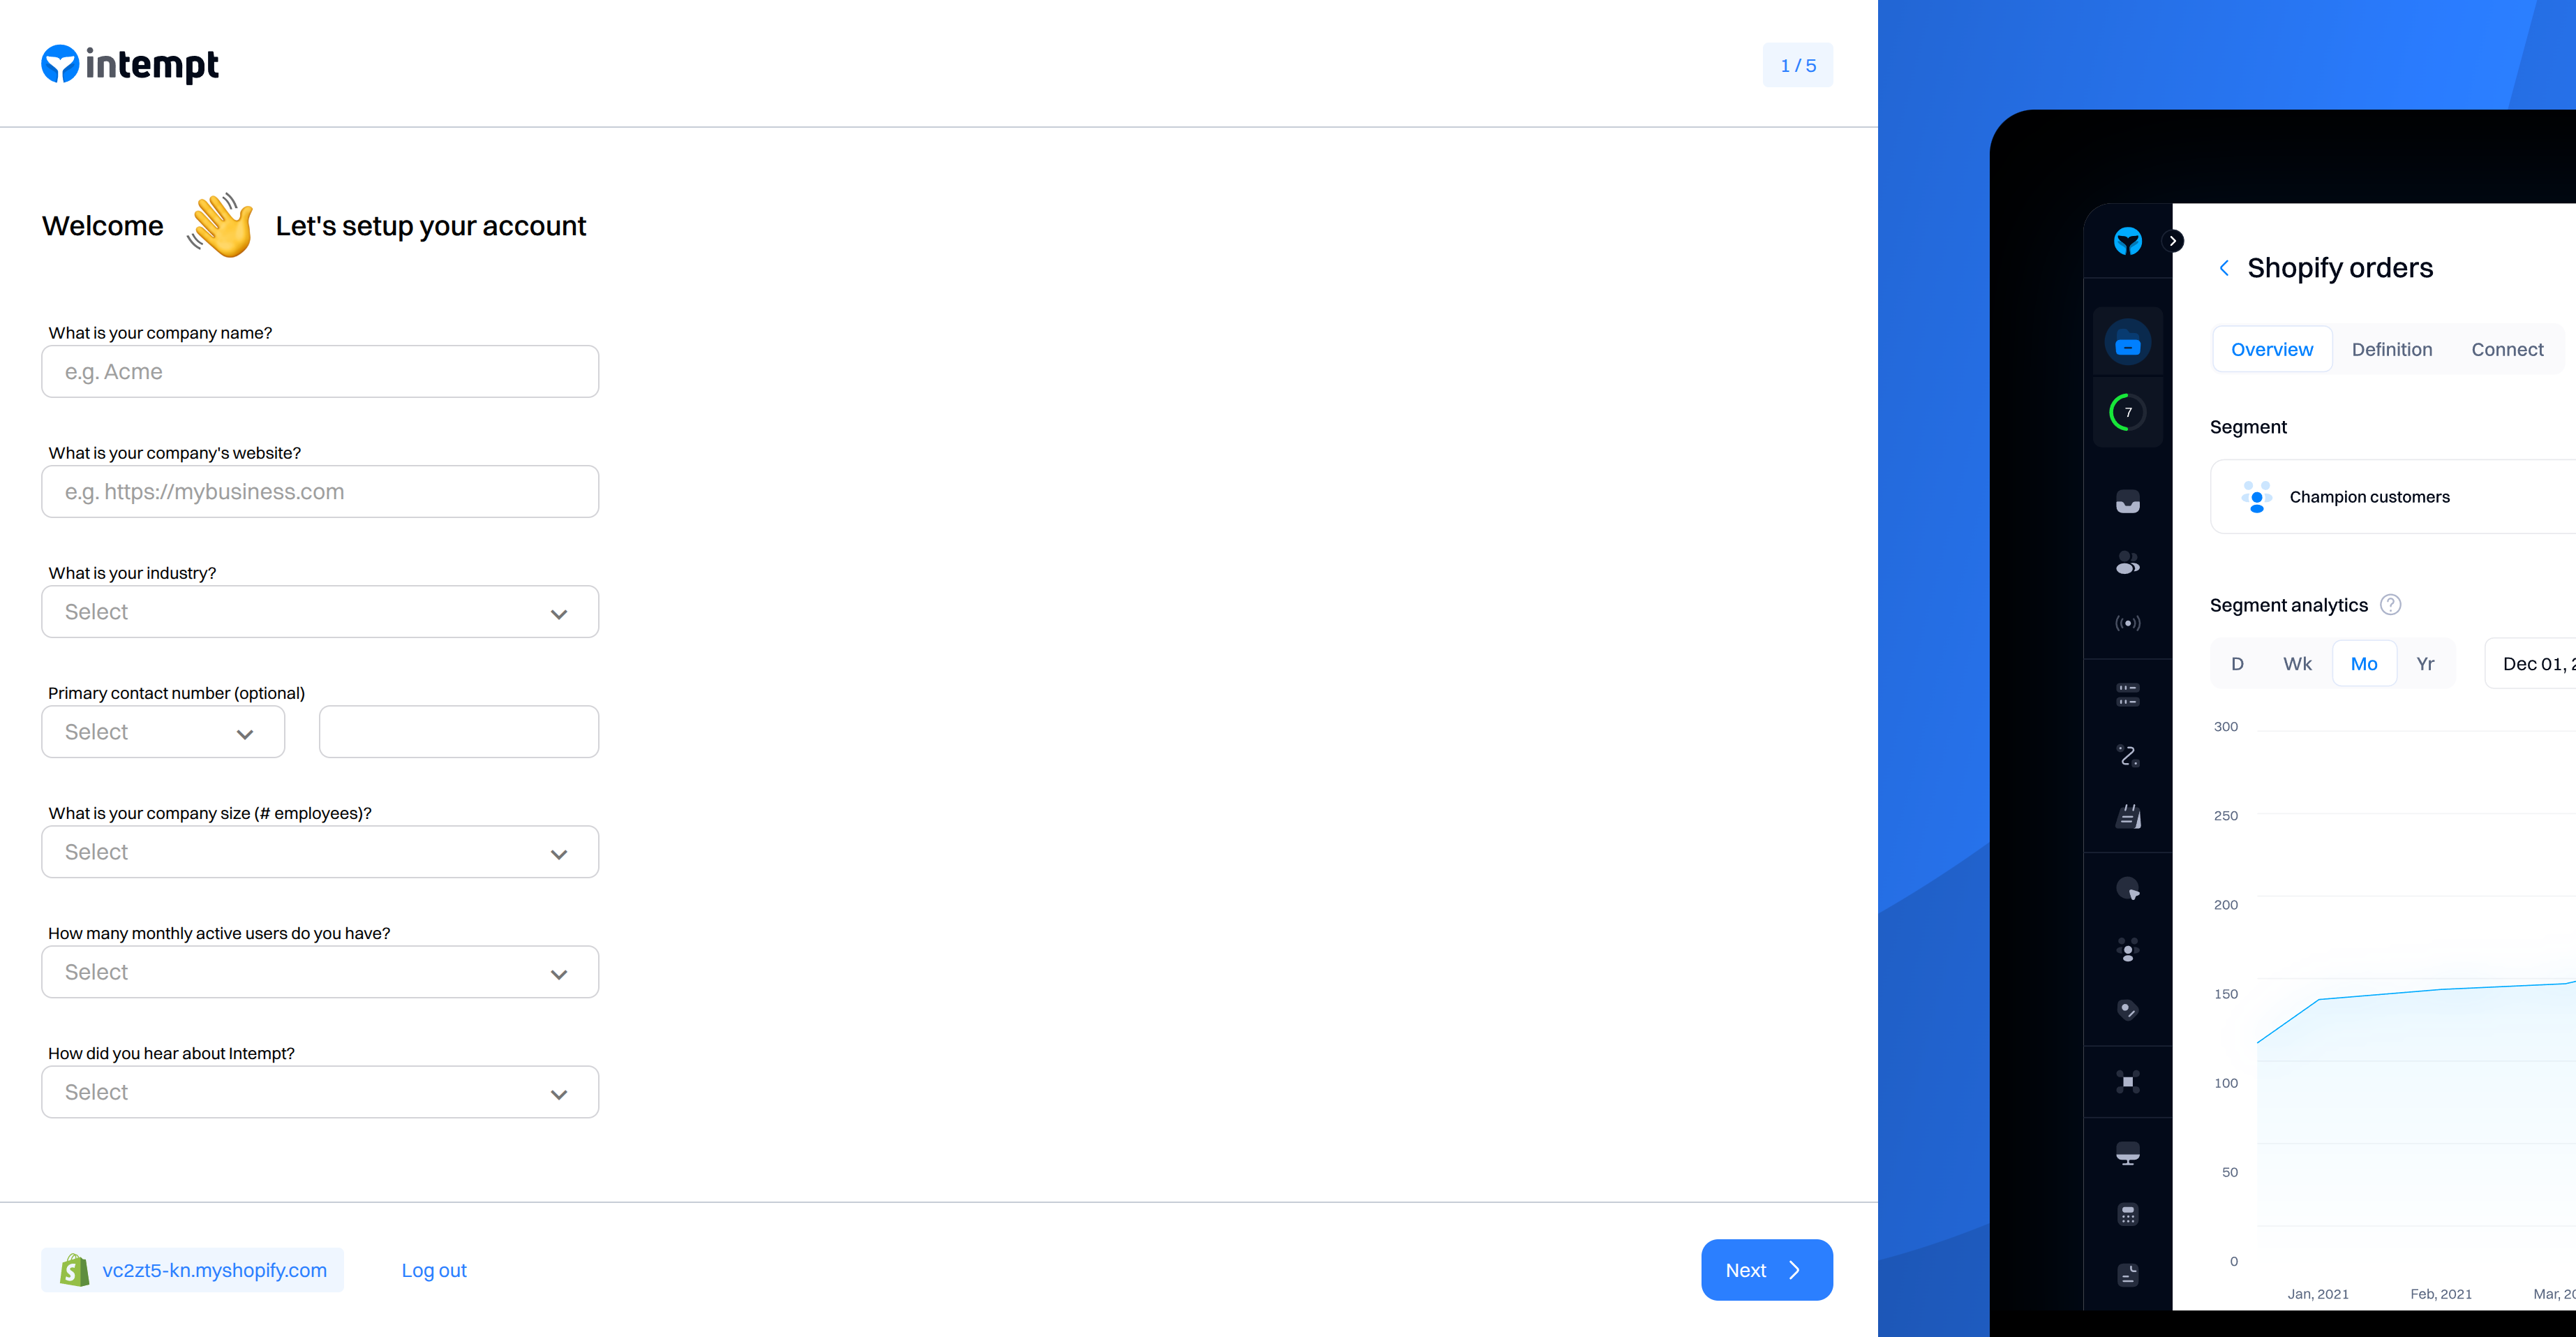
As we can see, onboarding already knows about your Shopify account.
- Role selection
Choose your role to help Intempt personalize your setup.

- Select the tools you use for targeting
Indicate which tools you currently use in your targeting workflows.

- Set your goals
Specify the objectives you want to achieve with Intempt.

- Final setup
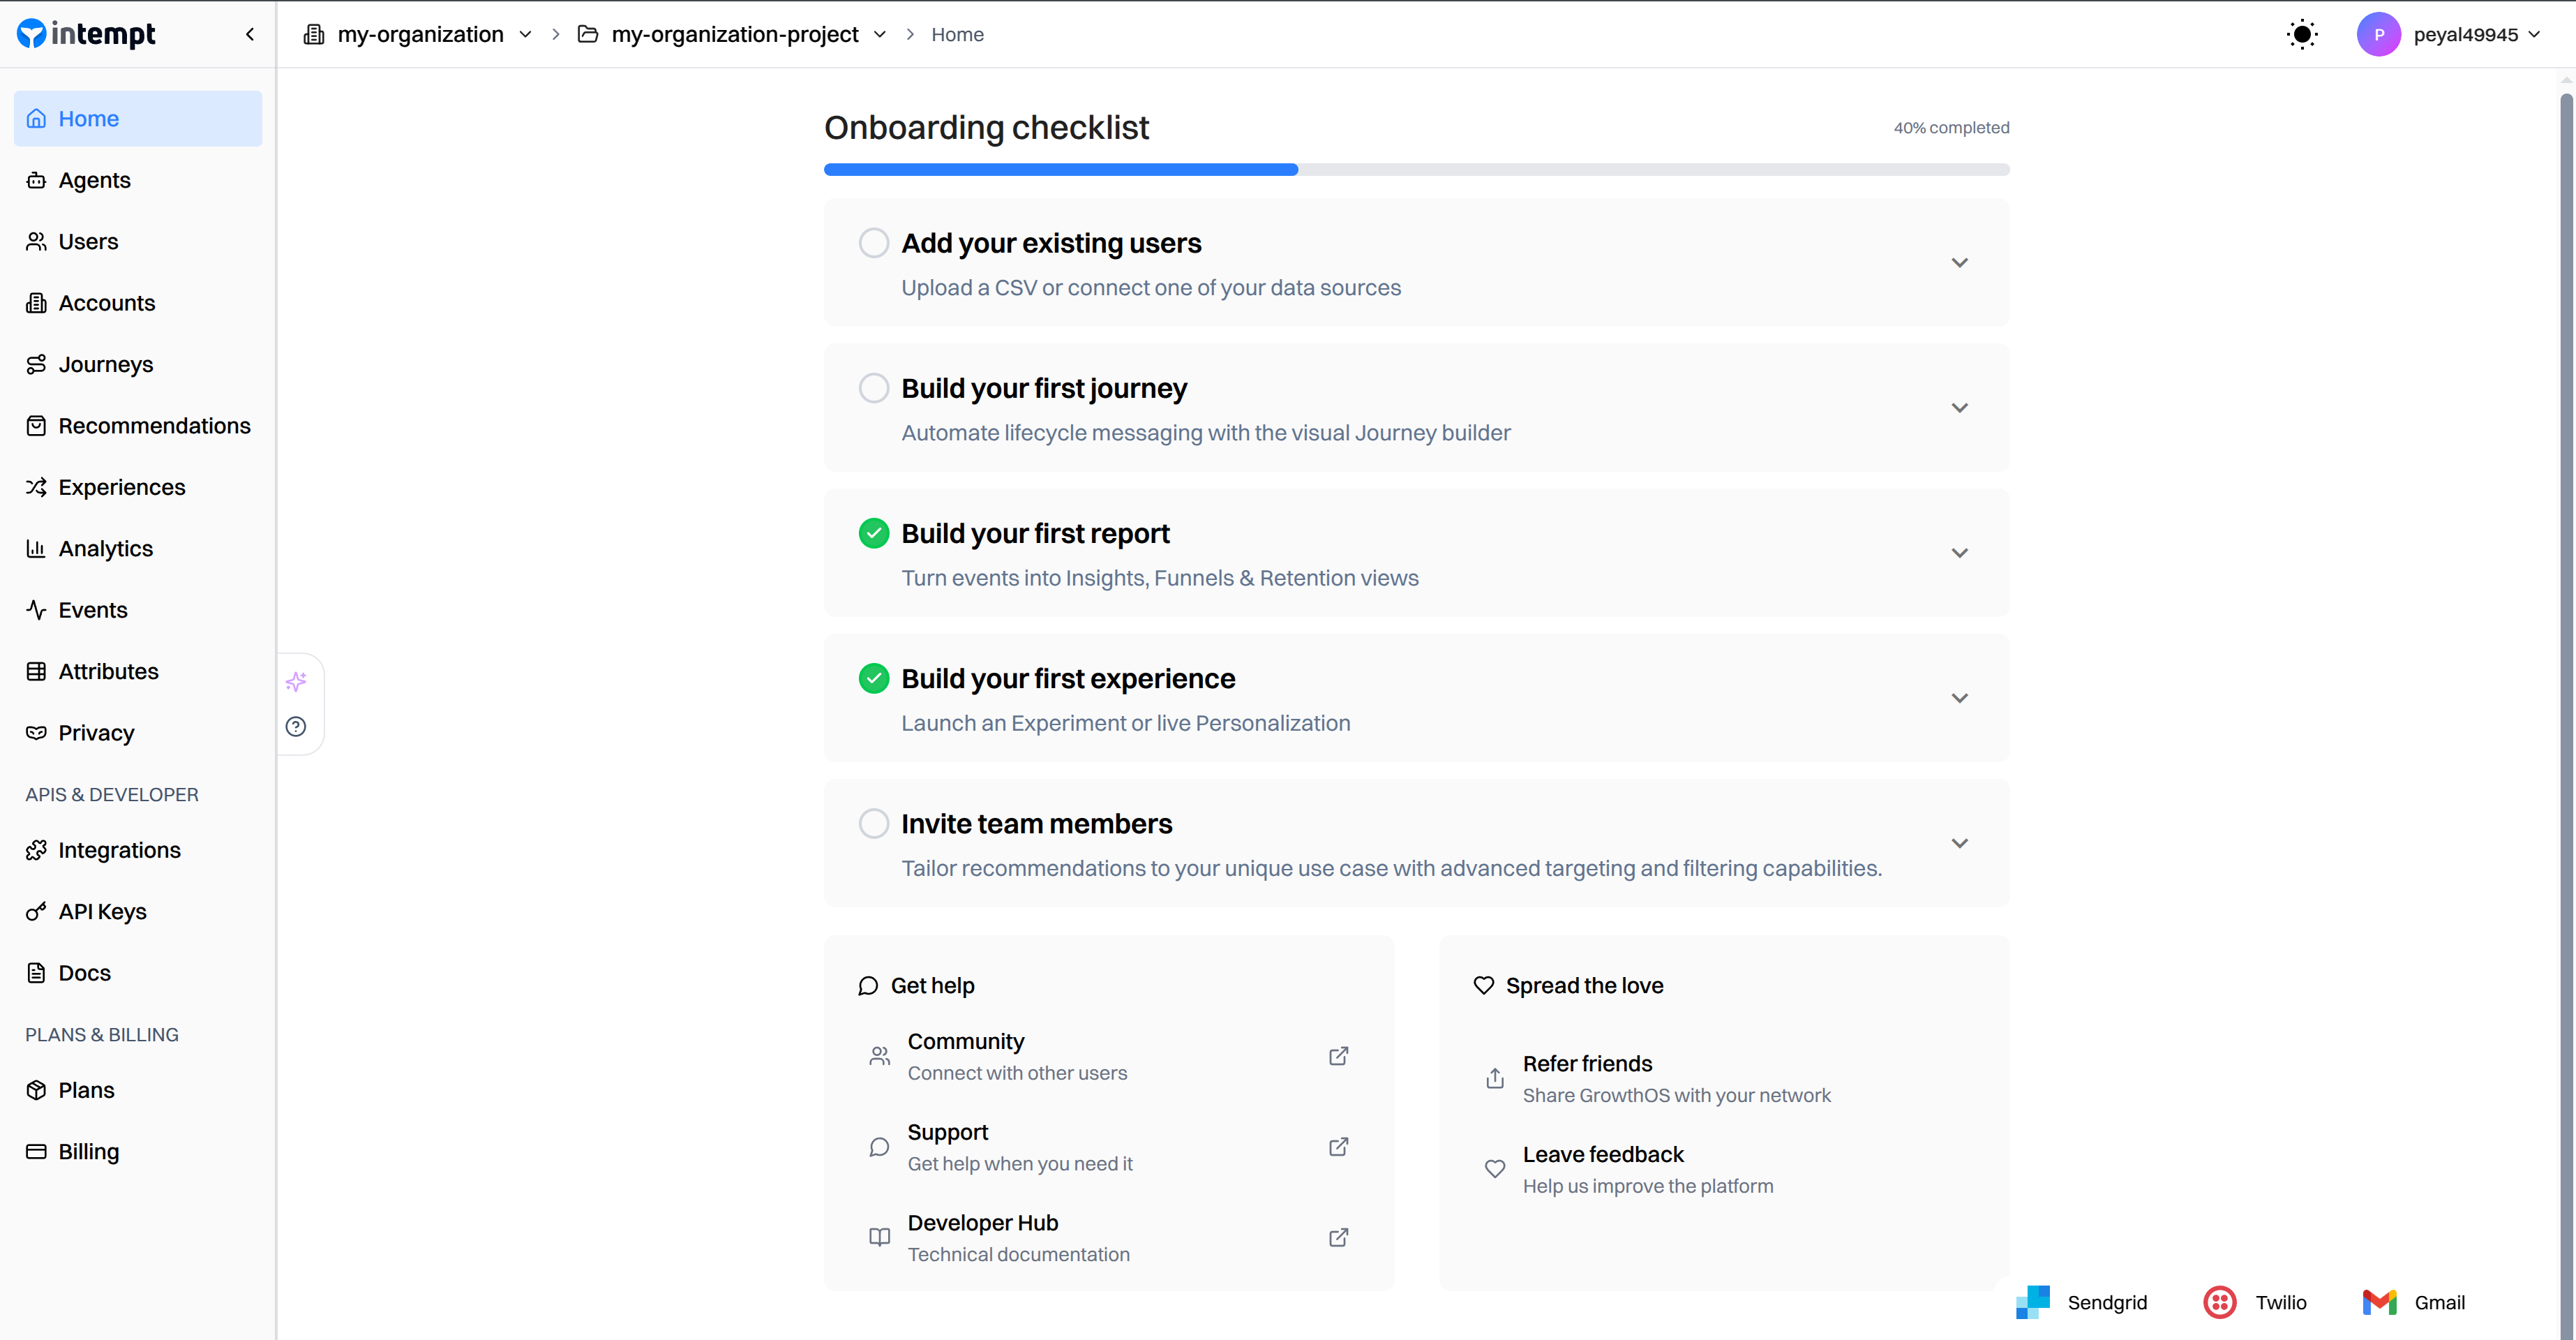
As you are creating an account from Shopify, your billing will be based on Shopify Billing APIs.
Billing
When creating an account from the Shopify account, you are initiating the Shopify billing APIs, meaning that all of the billing is going through Shopify. After starting Intempt, you will be provided with a 14-day free trial. Once the trial has ended, you will be charged $0.035 per monthly tracked user and Shopify will be generating invoices to be paid for the subscription.
NOTE: Apps that use Shopify's Billing API have higher free-to-paid conversion rates because charges originate directly from Shopify.
Based on your selected billing plan, you will be invoiced either monthly or annually.
Cancelling the subscription
As a customer of Shopify and Intempt, you have the full right and obligation to cancel your subscription.
NOTE: In order to cancel your subscription, you need to pass the 14-day free trial, otherwise, it is not possible.
To cancel your subscription, navigate to your Shopify account. From there, consider following the steps:
- From your Shopify admin, go to Settings > Plan.
- Click Deactivate store.
- If applicable, review the options to switch to the Pause and build plan, or start a new store.
- If you still want to deactivate, then click Deactivate store.
- Select a reason for the deactivation, and then click Continue.
- Enter your password, and then click Deactivate now.
You receive an email to confirm that your store's been deactivated. You can still reopen your store or view your past bills, and your store's information is guaranteed for 2 years.
NOTE: After store deactivation though, you will not be able to use Intempt up until you renew your subscription in Shopify.
Creating objects
Once the Shopify app integration has been configured and the Shopify source automatically created, in order to fully start using your integration, you need to manage your data by configuring events and segments.
Creating events
Open the Events section and click on Create Event.

In the next step, select the Shopify source from which you want to create the event, choose the appropriate event, and set the desired filter.

Creating segments
Once the event has been created, you need to funnel your user actions and users by specific traits. For example, you have 100 users who are randomly distributed in terms of gender, source, actions, and spending manners. In the Segment editor, simply select the created Shopify source-based event and provide the value for the Segment.
To create a user Segment, you should open Users section -> Segments tab and click "Create segment" button

Creating analytics
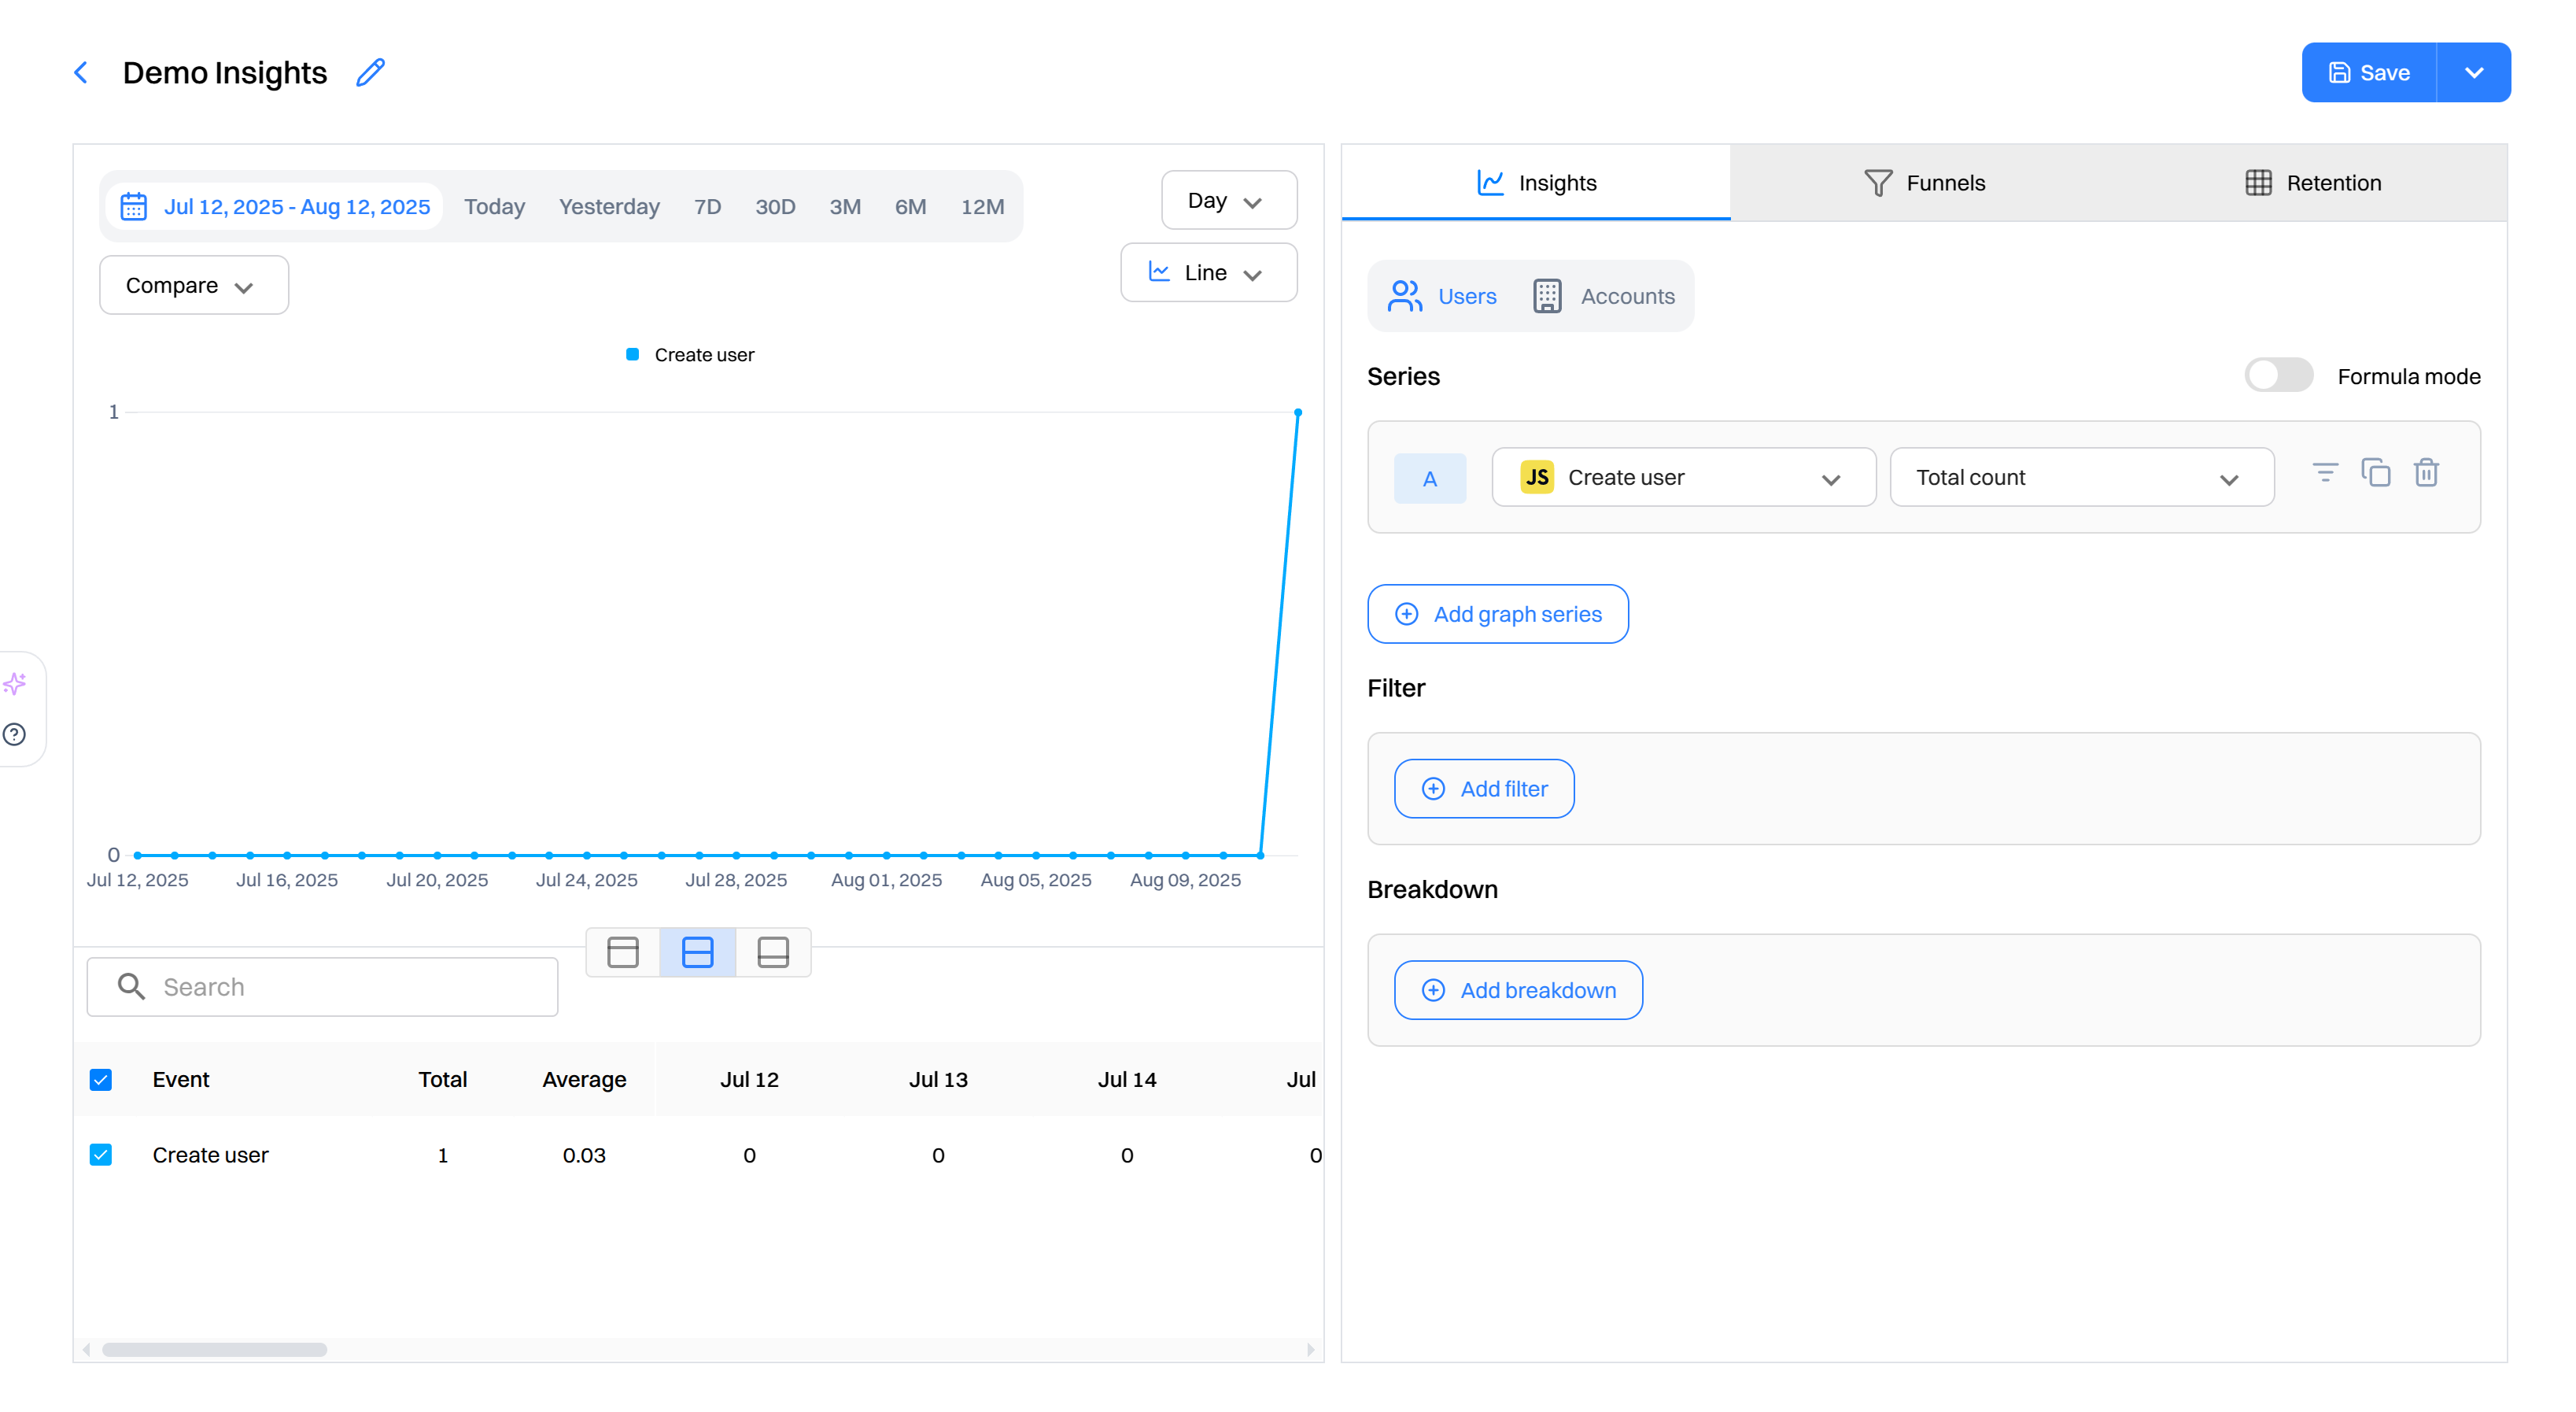
Once the Shopify integration has been successfully incorporated, users can also create analytics in Intempt, such as Total weight, Total price, Total number of orders, etc.
To create a new analytics report, you should open the Analytics section, click on "Create report", select "Insight", and set up a metric
Updated about 2 months ago